Artwork for Laying Down The Lore: 40K
Leisure

Laying Down The Lore: 40K

Laying Down The Lore

Join Dhar, Cral & Ben in this informative, irreverent, and largely irrelevant Warhammer 40,000 lore podcast.

  • 20 episodes
  • Updated July 15

Episodes20

  • July 15 · 1 hr 41 min

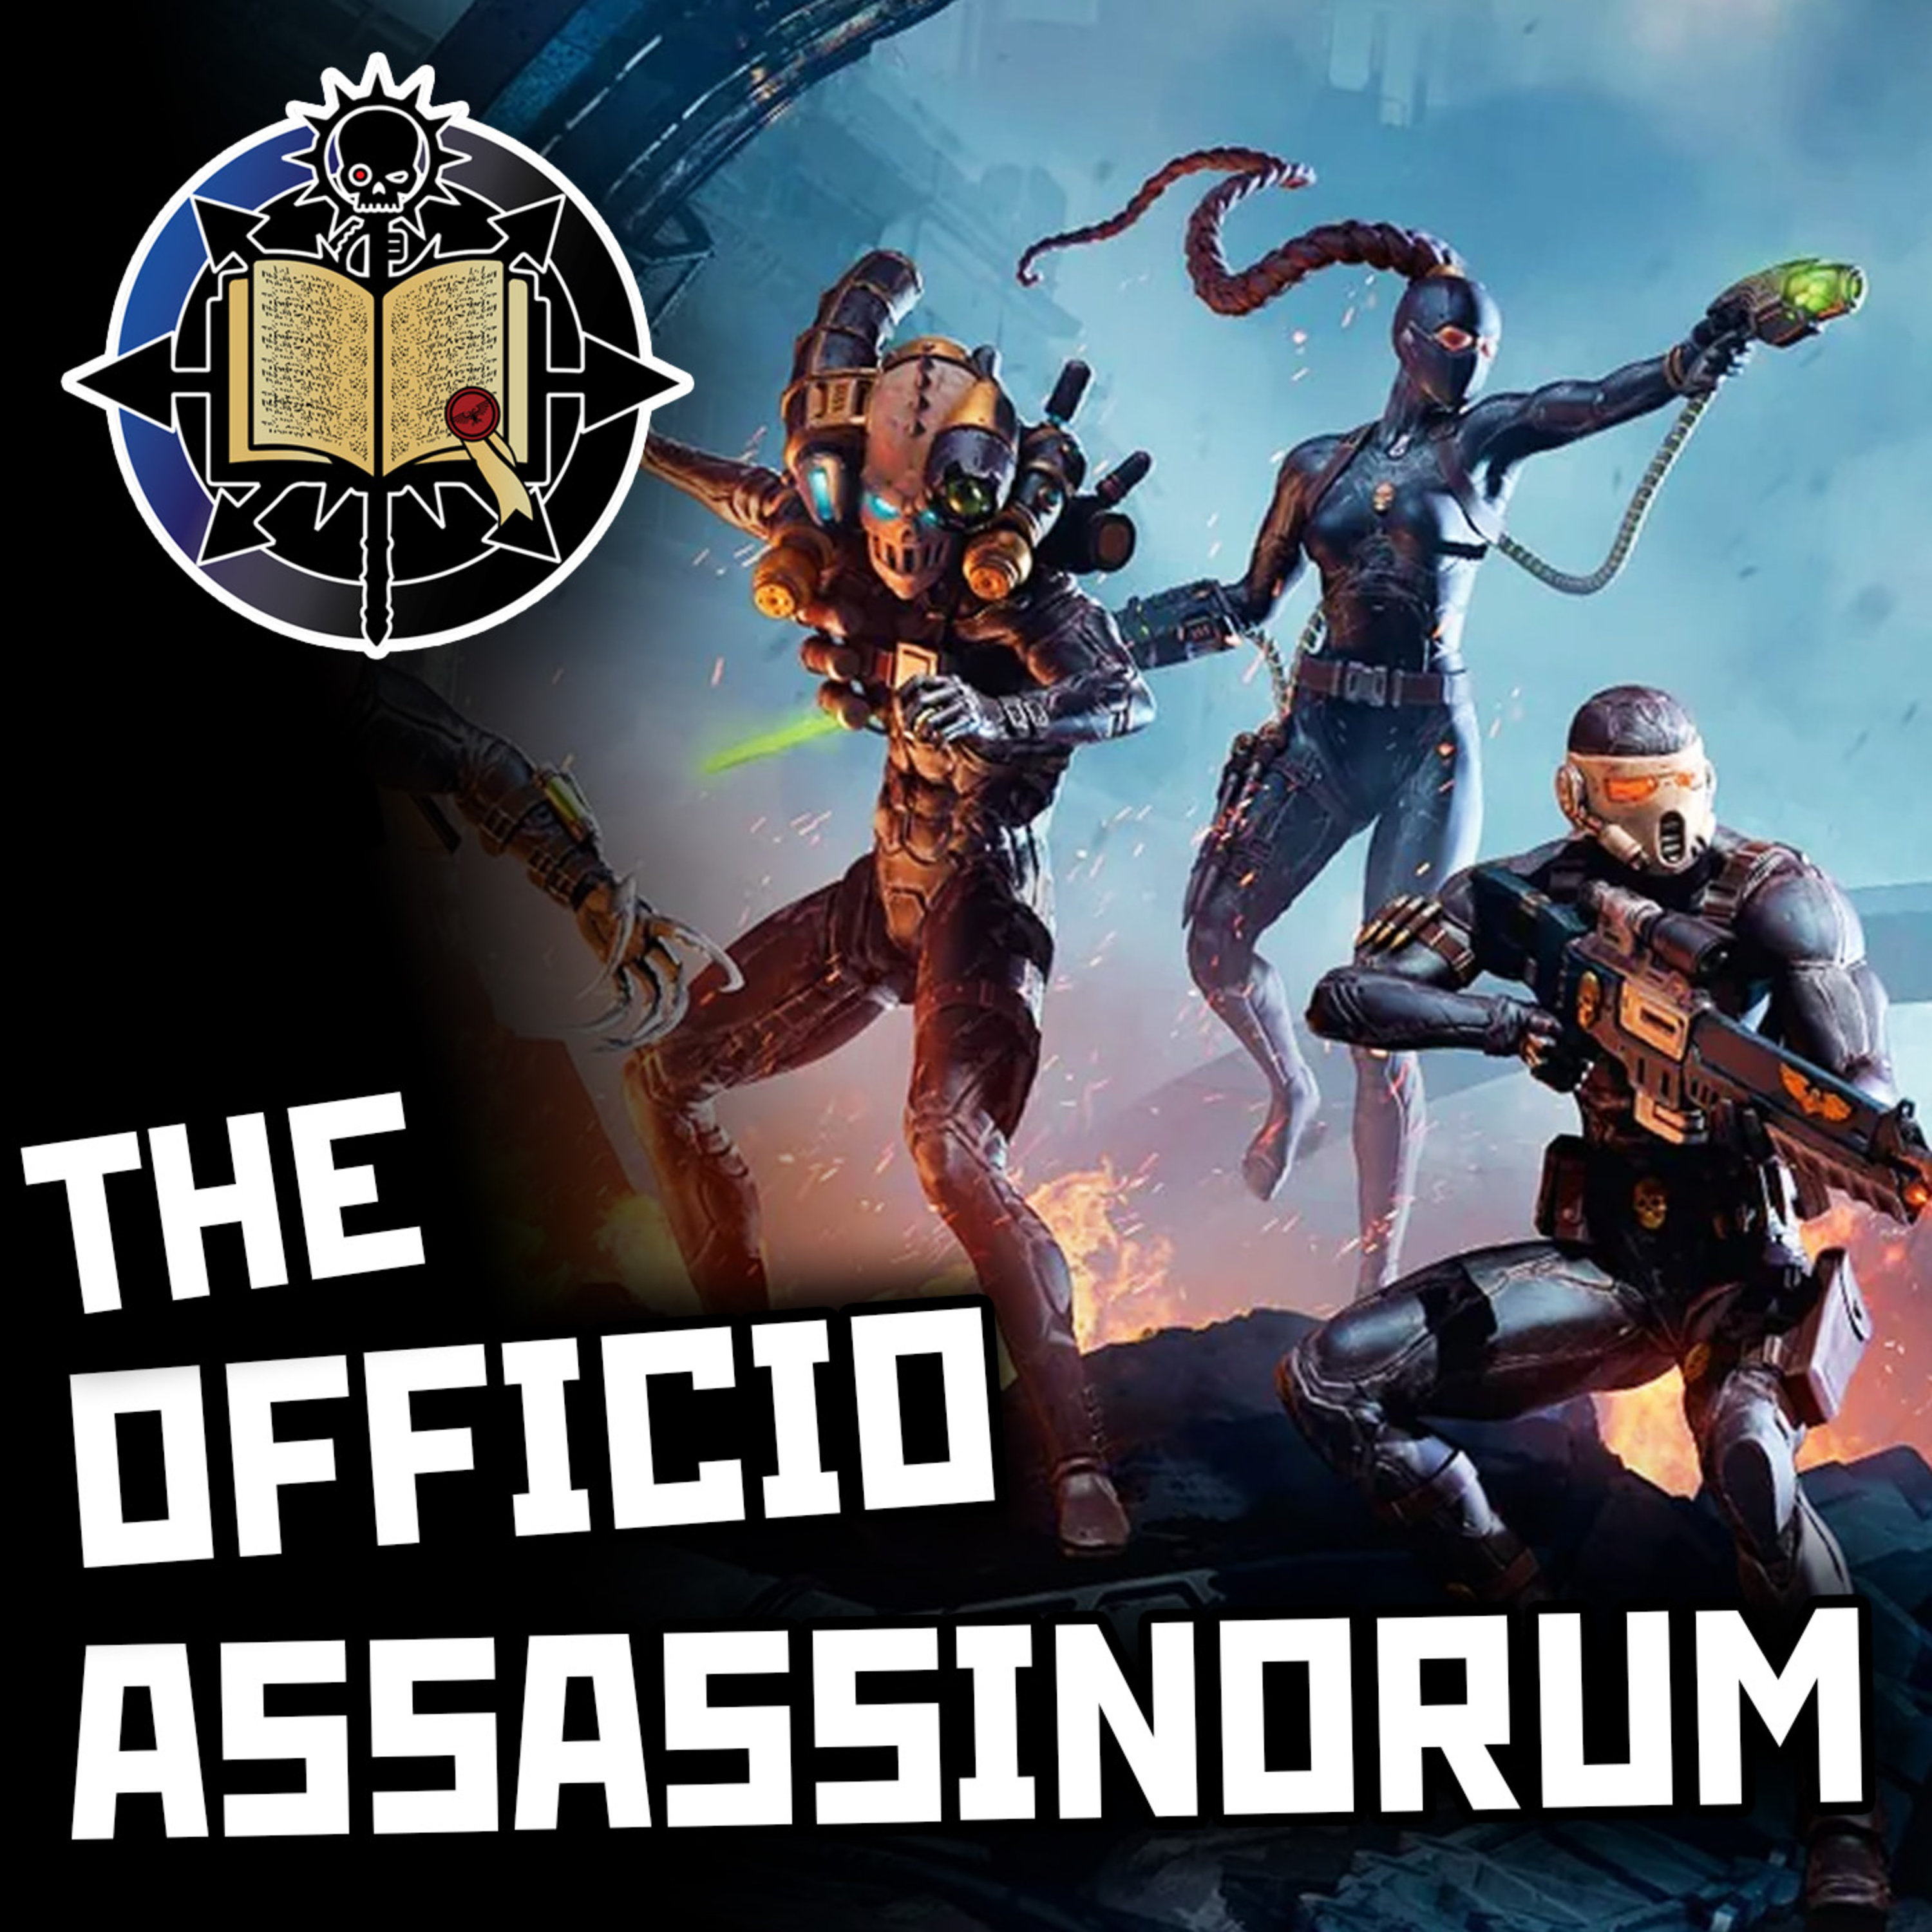
    Officio Assassinorum Temples | Warhammer 40K Lore

    In our Warhammer 40K lore dive episode 69, we descend into the shadow war of the Imperium by exploring the deadly Assassin Temples of the Officio Assassinorum—the Emperor’s secretive order of sanctioned killers tasked with eliminating threats too dangerous for armies or fleets to confront openly. From the brutal indoctrination of Schola Progenium recruits to the creation of assassins stripped of identity and remade into living weapons, we uncover how the Imperium turned murder into a sacred instrument of statecraft. The episode breaks down the major temples and their terrifying specialisations: the shapeshifting infiltrators of the Callidus Temple, the godlike snipers of the Vindicare, the chemically crazed berserkers of the Eversor, the psychic-null horrors of the Culexus, and the poison masters, cyber manipulators, and hidden duellists of the Venenum, Vanus, and Adamus clades. Note: Please see episode 11 for a very brief intro to Assassins ⁠⁠⁠⁠⁠⁠⁠⁠⁠⁠⁠⁠⁠ Show Images Discord ⁠⁠⁠⁠⁠⁠⁠⁠⁠⁠⁠⁠⁠Patreon⁠⁠⁠⁠⁠⁠⁠⁠⁠⁠⁠⁠⁠ ⁠⁠⁠⁠⁠⁠⁠⁠⁠⁠⁠⁠⁠Merchandise⁠⁠⁠⁠⁠⁠⁠⁠⁠⁠⁠⁠⁠ ⁠⁠⁠⁠⁠⁠⁠⁠⁠⁠⁠⁠Quartermaster ⁠⁠⁠ ⁠⁠⁠⁠Listen Ad-Free⁠ Theme Music

  • July 1 · 1 hr 21 min

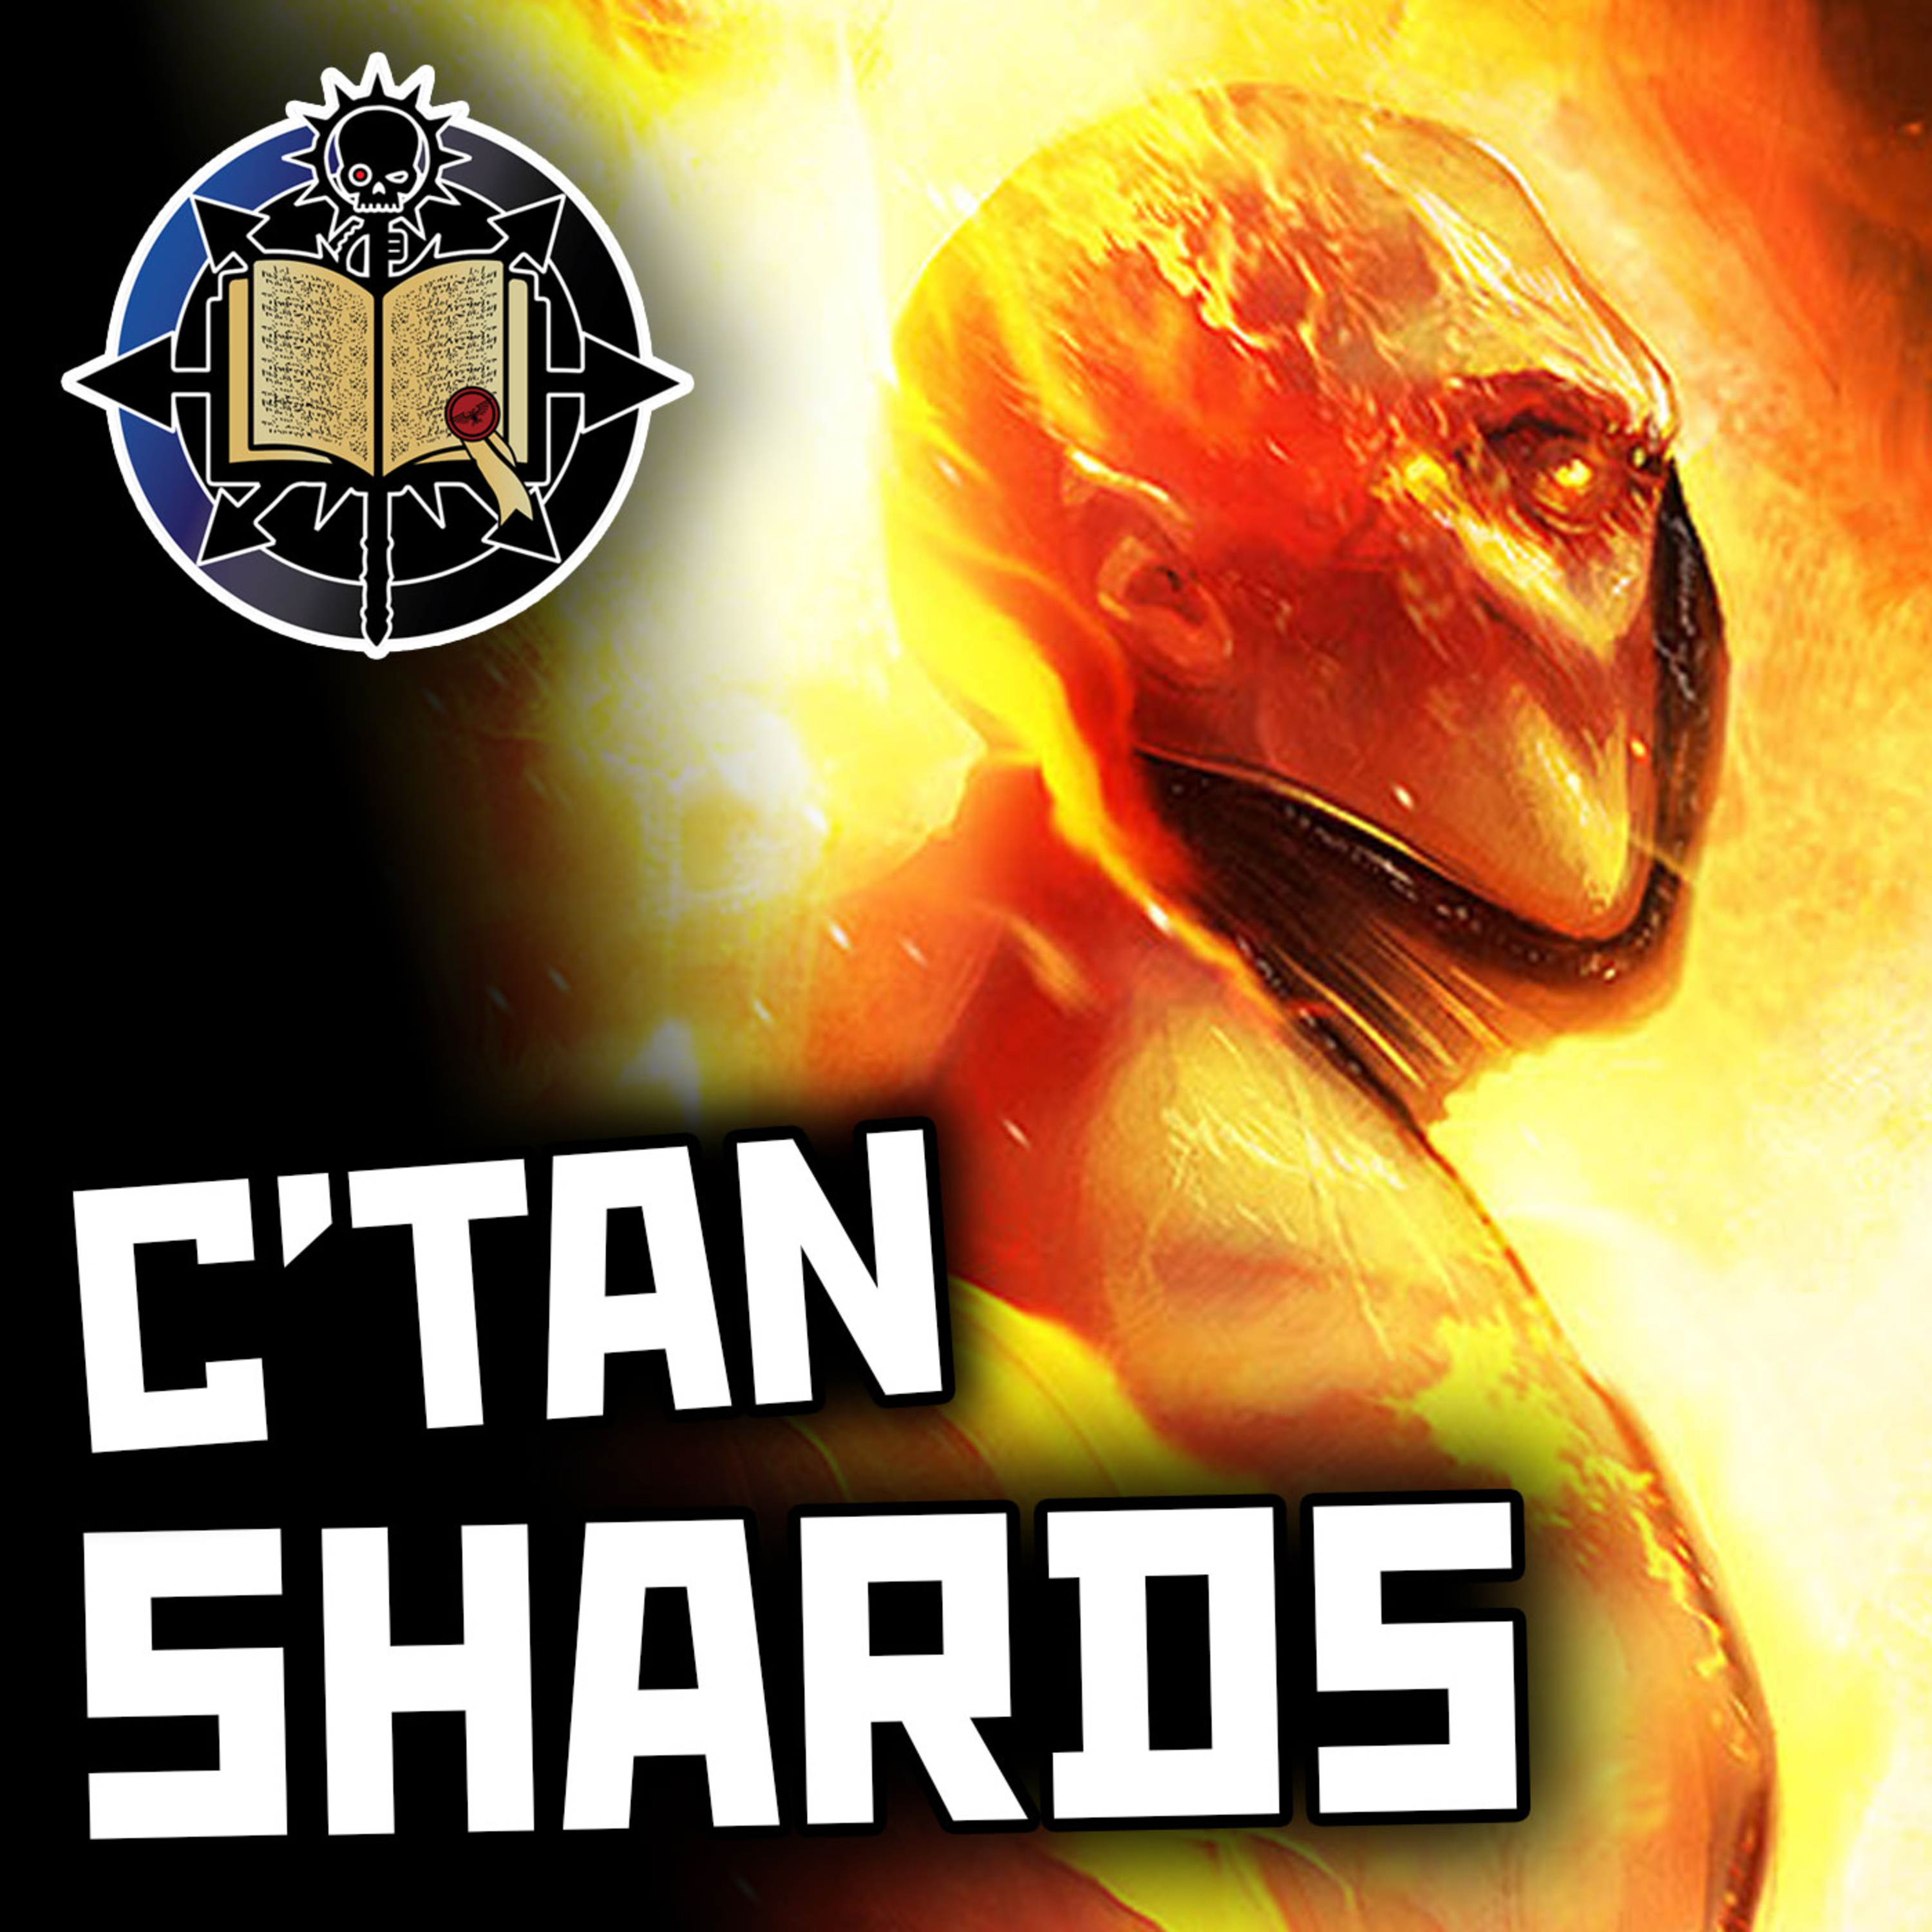
    C'tan Shards | Warhammer 40K Lore

    In our Warhammer 40K lore dive episode 68, we explore the ancient horror of the C’tan Shards—the broken remnants of the Necrons’ former gods, beings of living cosmic energy born alongside the universe itself. Once star-devouring entities drifting between suns, the C’tan were given physical form by the desperate Necrontyr and manipulated them into the catastrophic process of biotransference, creating the Necrons and unleashing the apocalyptic War in Heaven. We follow the Necrons’ eventual rebellion against these godlike masters, examining the impossible technologies used to shatter the Star Gods into thousands of imprisoned fragments contained within Tesseract Labyrinths and Vaults. The episode then dives into the most infamous C’tan: the Nightbringer, whose slaughter shaped the universal fear of death itself; the Deceiver, architect of betrayal and manipulation; the machine-linked Void Dragon beneath Mars; the maddened Outsider lurking beyond the galaxy; and the Flayer, whose death curse created the horrifying Flayed Ones. Note: Please see episodes 28 & 29 for an introduction to the Necrons ⁠⁠⁠⁠⁠⁠⁠⁠⁠⁠⁠⁠⁠ Show Images⁠ ⁠Discord⁠ ⁠⁠⁠⁠⁠⁠⁠⁠⁠⁠⁠⁠⁠⁠Patreon⁠⁠⁠⁠⁠⁠⁠⁠⁠⁠⁠⁠⁠⁠ ⁠⁠⁠⁠⁠⁠⁠⁠⁠⁠⁠⁠⁠⁠Merchandise⁠⁠⁠⁠⁠⁠⁠⁠⁠⁠⁠⁠⁠⁠ ⁠⁠⁠⁠⁠⁠⁠⁠⁠⁠⁠⁠⁠Quartermaster ⁠⁠⁠⁠ ⁠⁠⁠⁠⁠Listen Ad-Free⁠⁠ ⁠Theme Music⁠

  • June 24 · 1 hr 51 min

    Third War for Armageddon | Warhammer 40K Lore

    In our Warhammer 40K lore dive episode 67, we explore the Third War for Armageddon, the apocalyptic return of Ghazghkull Thraka and the greatest Ork invasion the Imperium had ever faced. After decades spent studying Imperial weaknesses through raids, guerrilla wars, and terrifying new technologies like the “tellyporta,” Ghazghkull returns to Armageddon with thousands of warships, Space Hulks, and asteroid fortresses known as Roks, overwhelming even the heavily fortified world rebuilt after the previous war. As Commissar Yarrick takes command of the planet’s defence, Armageddon descends into total war: hive cities are annihilated by falling asteroids, Titan Legions clash with Gargants, Black Templars wage desperate last stands at Helsreach, and Ork warbands spread chaos across an entire planet-sized battlefield. Yet the conflict only grows darker when the Great Rift isolates the system and Chaos erupts across Armageddon, transforming the war into a nightmarish three-sided struggle between Imperium, Orks, and daemonic invasions led by Angron himself. ⁠⁠⁠⁠⁠⁠⁠⁠⁠⁠⁠⁠⁠ Show Images⁠ ⁠Discord⁠ ⁠⁠⁠⁠⁠⁠⁠⁠⁠⁠⁠⁠⁠⁠Patreon⁠⁠⁠⁠⁠⁠⁠⁠⁠⁠⁠⁠⁠⁠ ⁠⁠⁠⁠⁠⁠⁠⁠⁠⁠⁠⁠⁠⁠Merchandise⁠⁠⁠⁠⁠⁠⁠⁠⁠⁠⁠⁠⁠⁠ ⁠⁠⁠⁠⁠⁠⁠⁠⁠⁠⁠⁠⁠Quartermaster ⁠⁠⁠⁠ ⁠⁠⁠⁠⁠Listen Ad-Free⁠⁠ ⁠Theme Music⁠

  • June 17 · 1 hr 34 min

    Second War for Armageddon | Warhammer 40K Lore

    In our Warhammer 40K lore dive episode 66, we explore the Second War for Armageddon, the colossal Ork invasion that transformed the hive world into one of the bloodiest battlefields in Imperial history. The story begins with the rise of Ghazghkull Mag Uruk Thraka, whose near-fatal head wound and bionic reconstruction on the world of Urk sparked his belief that he was chosen by Gork and Mork to lead a galaxy-spanning Waaagh!. After uniting the tribes of his dying world and surviving a hellish Warp journey aboard a space hulk, Ghazghkull crashes into Armageddon and unleashes a planetary war of staggering scale. As the incompetent Governor Herman von Strab bungles the defence through arrogance and denial, Commissar Sebastian Yarrick emerges as the heart of Imperial resistance, leading the desperate defence of Hive Hades against endless Ork assaults, Gargants, and siege warfare. From doomed Titan charges and the fall of Hive Helsreach to the dramatic arrival of the Blood Angels, Ultramarines, and Salamanders under Commander Dante, the episode traces a brutal campaign of attrition, heroism, and urban warfare that culminates in the collapse of the Ork invasion. Yet even after Imperial victory is declared, Ghazghkull survives, the fighting drags on for years, and Armageddon itself is left permanently scarred—cementing both Yarrick and Ghazghkull as legendary enemies whose war is far from over. ⁠⁠⁠⁠⁠⁠⁠⁠⁠⁠⁠⁠⁠Patreon⁠⁠⁠⁠⁠⁠⁠⁠⁠⁠⁠⁠⁠ ⁠⁠⁠⁠⁠⁠⁠⁠⁠⁠⁠⁠⁠Merchandise⁠⁠⁠⁠⁠⁠⁠⁠⁠⁠⁠⁠⁠ ⁠⁠⁠⁠⁠⁠⁠⁠⁠⁠⁠⁠Quartermaster ⁠⁠⁠ ⁠⁠⁠⁠Listen Ad-Free⁠ SHOW IMAGES 0 - MAP - 1 - 2 - 3 - 4 - 5 - 6 - 7 - 8 - 9 - 10 - 11 - 12 - 13 - 14 - 15 - 16 - 17 - 18 - 19 - 20 Theme Music: Military March Adventure by Antracto

  • June 10 · 1 hr 24 min

    First War for Armageddon | Warhammer 40K Lore

    In our Warhammer 40K lore dive episode 65, we explore the First War for Armageddon, the cataclysmic Chaos invasion that transformed the industrial hive world into one of the Imperium’s most cursed battlefields. What begins as civil unrest and food riots quickly spirals into apocalypse when the Space Hulk Devourer of Stars emerges from the Warp, unleashing Angron, Daemon Primarch of the World Eaters, alongside vast hordes of cultists, daemons, and traitor Space Marines. As Armageddon collapses into slaughter and corruption, the Space Wolves under Logan Grimnar rally desperate Imperial defenders for a final stand along the rivers Styx and Chaeron, culminating in the arrival of the Grey Knights and a brutal showdown that sees Angron banished back to the Warp at staggering cost. But victory only sparks a darker conflict: the infamous “Months of Shame,” where the Inquisition attempts to purge and sterilise Armageddon’s survivors to contain knowledge of Chaos, bringing them into open war with the Space Wolves themselves. ⁠⁠⁠⁠⁠⁠⁠⁠⁠⁠⁠⁠⁠Patreon⁠⁠⁠⁠⁠⁠⁠⁠⁠⁠⁠⁠⁠ ⁠⁠⁠⁠⁠⁠⁠⁠⁠⁠⁠⁠⁠Merchandise⁠⁠⁠⁠⁠⁠⁠⁠⁠⁠⁠⁠⁠ ⁠⁠⁠⁠⁠⁠⁠⁠⁠⁠⁠⁠Quartermaster ⁠⁠⁠ ⁠⁠⁠⁠Listen Ad-Free⁠ SHOW IMAGES 1 - 2 - 3 - 4 - 5 - 6 - 6a - 7 - 8 - 9 - 10 - 11 - 11a - 12 - 13 - 14 Theme Music: Military March Adventure by Antracto

  • June 3 · 1 hr 30 min

    The History of Armageddon | Warhammer 40K Lore

    In our Warhammer 40K lore dive episode 64, we explore the war-torn world of Armageddon, a toxic industrial hive planet whose very existence is defined by endless conflict and staggering strategic importance to the Imperium. From its secret origins as the Ork world of Ullanor—relocated and stripped of its past—to its transformation into a fortress of industry and war, we trace how Armageddon became a magnet for galaxy-shaking invasions. The story follows the three great wars that define its legacy: the first, a nightmarish Chaos uprising led by the Daemon Primarch Angron that ended in brutal purges and enforced secrecy; the second, a colossal Ork Waaagh! under Ghazghkull Thraka that forged heroes like Yarrick amid apocalyptic battles; and the third, an even greater invasion that turned the entire planet into a permanent warzone of sieges, attrition, and unending violence. Note: Dhar got too excited and confused not only numbers but the Helsreach and Hades hives… What a tool… ⁠⁠⁠⁠⁠⁠⁠⁠⁠⁠⁠⁠⁠⁠Patreon⁠⁠⁠⁠⁠⁠⁠⁠⁠⁠⁠⁠⁠⁠ ⁠⁠⁠⁠⁠⁠⁠⁠⁠⁠⁠⁠⁠⁠Merchandise⁠⁠⁠⁠⁠⁠⁠⁠⁠⁠⁠⁠⁠⁠ ⁠⁠⁠⁠⁠⁠⁠⁠⁠⁠⁠⁠⁠Quartermaster ⁠⁠⁠⁠ ⁠⁠⁠⁠⁠Listen Ad-Free⁠⁠ SHOW IMAGES ⁠1⁠ - ⁠1a⁠ - ⁠2⁠ - ⁠3⁠ - ⁠4⁠ - ⁠4a⁠ - ⁠5⁠ - ⁠6⁠ - ⁠7⁠ - ⁠8⁠ - ⁠9⁠ - ⁠10⁠ - ⁠11⁠ - ⁠12⁠ - ⁠13⁠ - ⁠14⁠ - ⁠15⁠ - ⁠16⁠ - ⁠17⁠ Theme Music: ⁠Military March Adventure by Antracto

  • May 20 · 2 hr 1 min

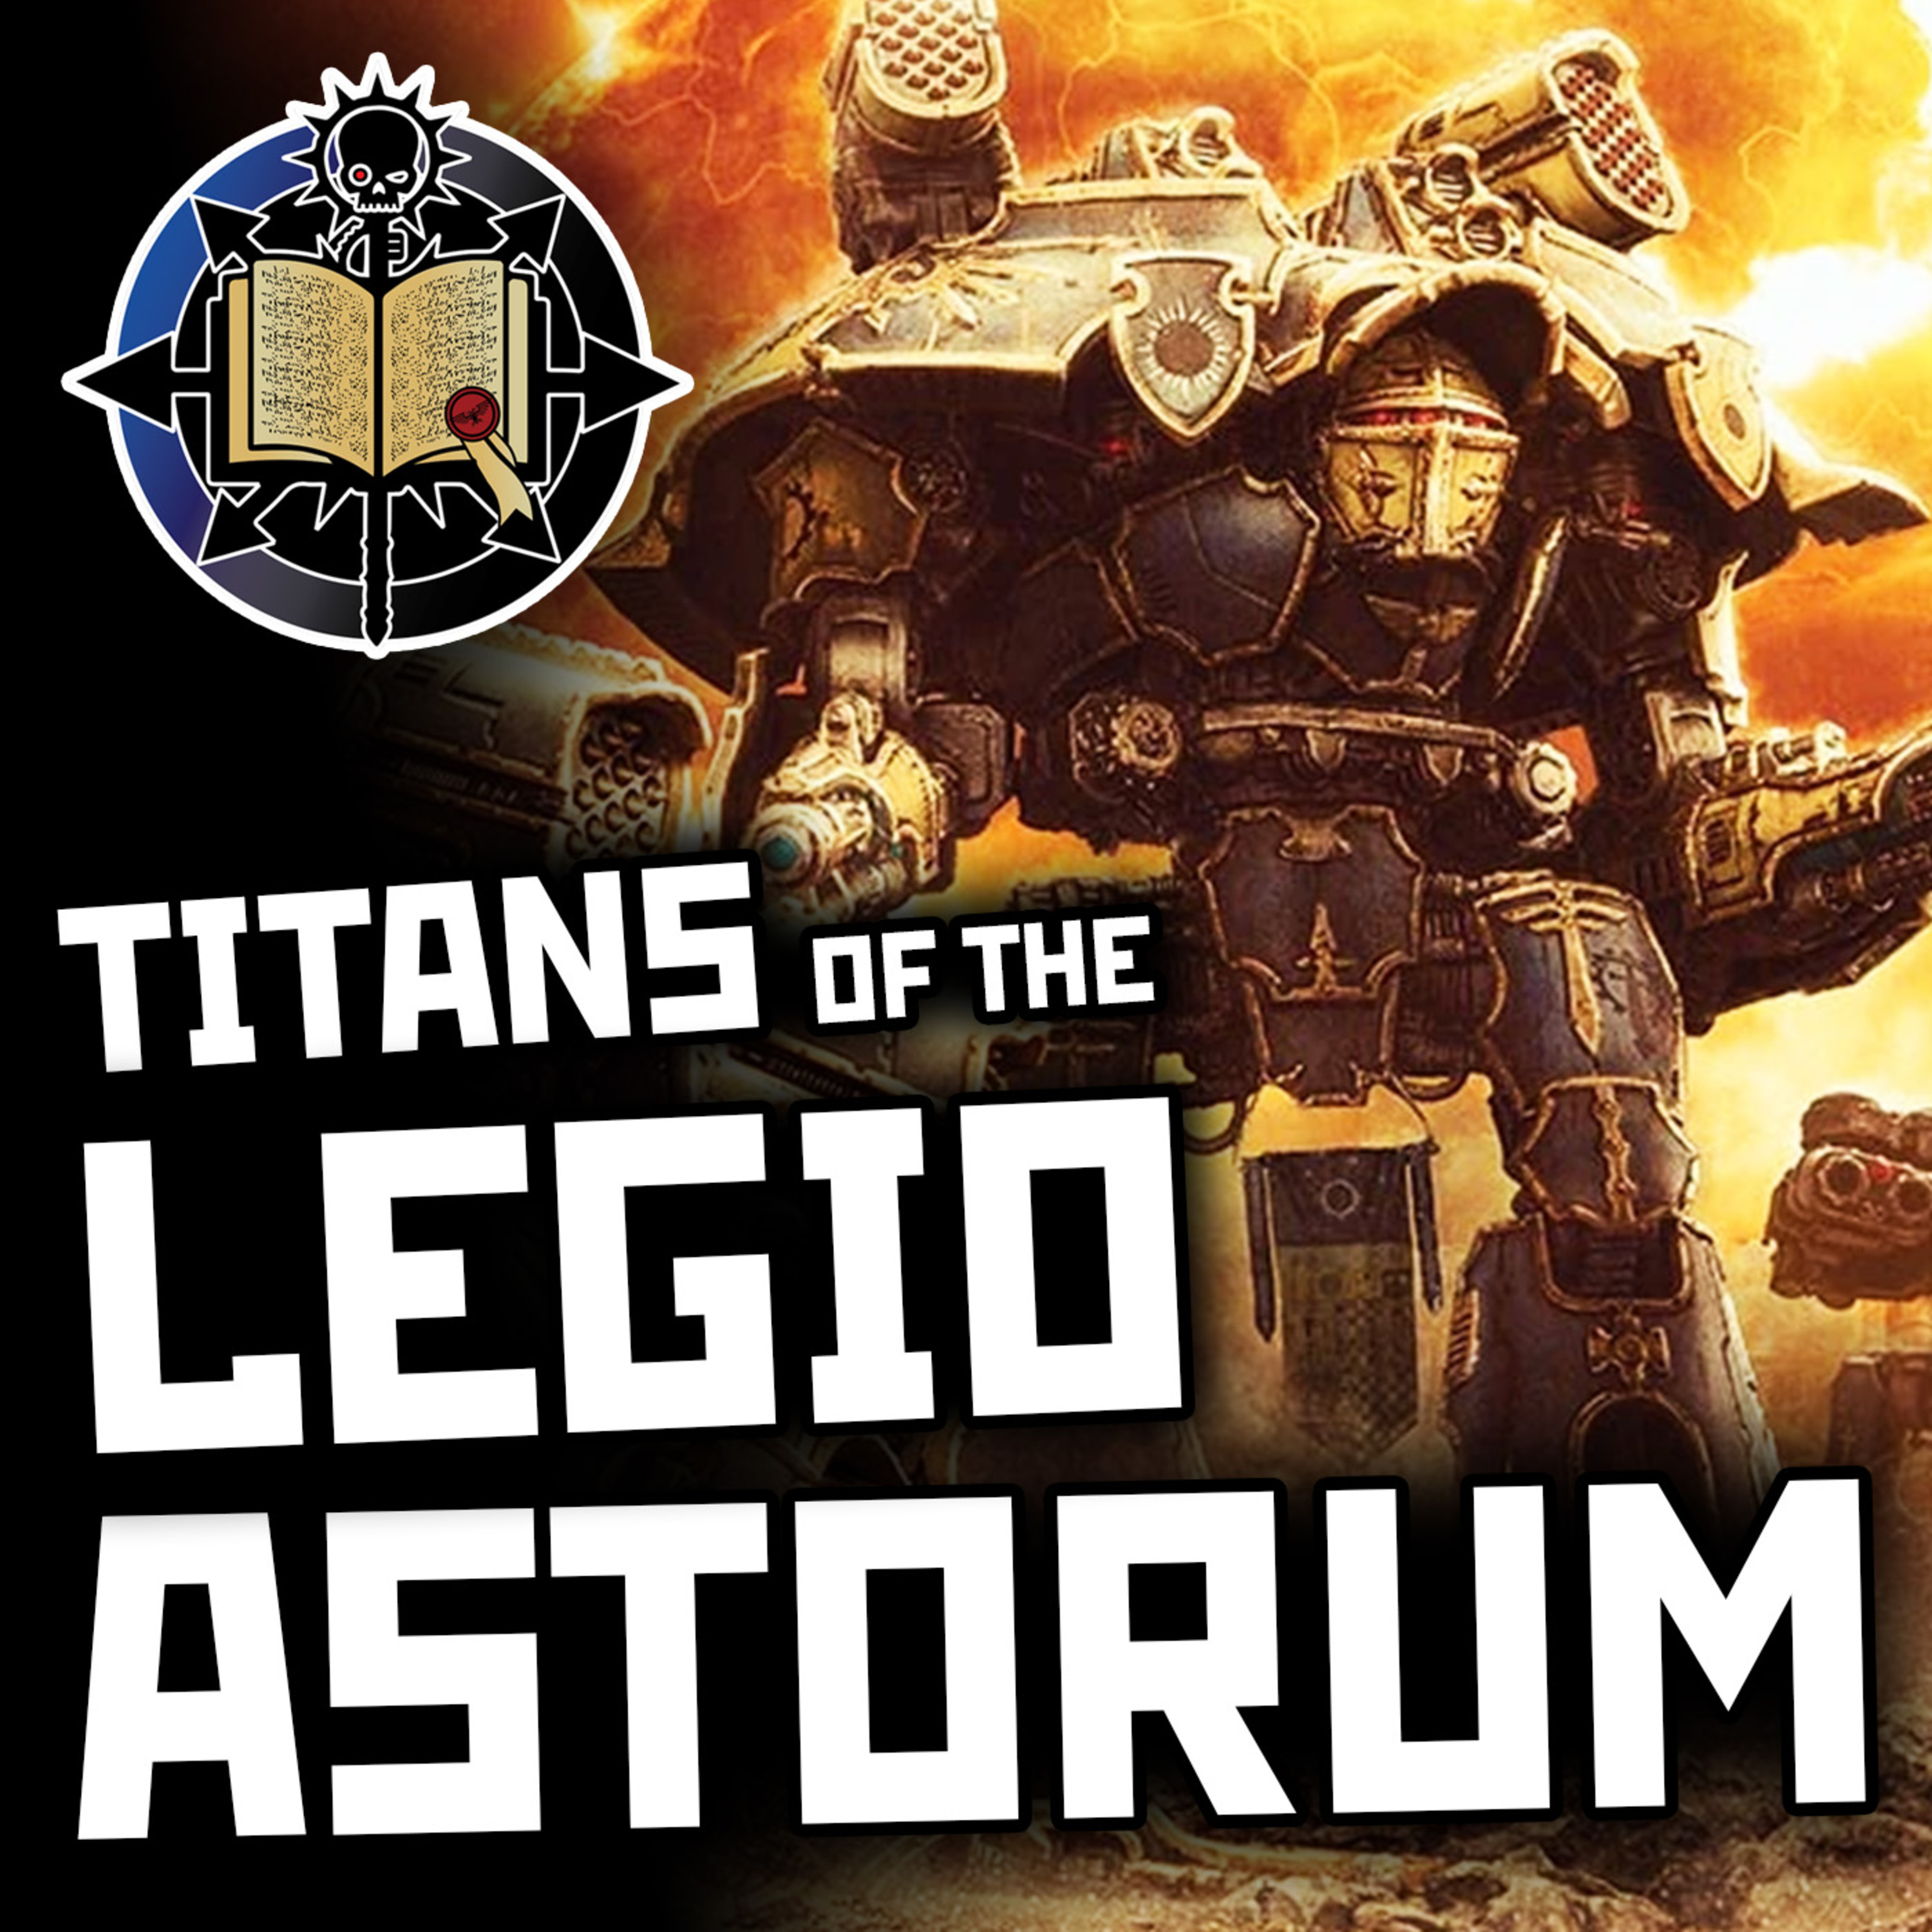
    Legio Astorum Titans | Warhammer 40K Lore

    In our Warhammer 40K lore dive episode 63, we explore the god-engines of the Imperium through the lens of the Collegia Titanica and one of its most daring Legions—Legio Astorum, the legendary “Warp Runners.” We break down how Titan Legions operate as semi-independent military orders of the Adeptus Mechanicus, from their rigid command structures and sacred battlefield formations to the immense physical and psychological demands placed on Princeps who bond with these living machines. From nimble Warhound scouts to city-levelling Imperator Titans, we examine how each class functions in war before diving into the unique culture of Legio Astorum, whose home world of Lucius and its doomed artificial sun have bred a philosophy of speed, risk, and fatalistic ambition. Known for pushing their Titans beyond safe limits, the Warp Runners became masters of rapid assault warfare, forging alliances with forces like Jaghatai Khan’s White Scars and fighting across the Great Crusade, Horus Heresy, and beyond. Note: Please see episode 12 for an introduction to the Adeptus Mechanicus ⁠⁠⁠⁠⁠⁠⁠⁠⁠⁠⁠⁠⁠Patreon⁠⁠⁠⁠⁠⁠⁠⁠⁠⁠⁠⁠⁠ ⁠⁠⁠⁠⁠⁠⁠⁠⁠⁠⁠⁠⁠Merchandise⁠⁠⁠⁠⁠⁠⁠⁠⁠⁠⁠⁠⁠ ⁠⁠⁠⁠⁠⁠⁠⁠⁠⁠⁠⁠Quartermaster ⁠⁠⁠ ⁠⁠⁠⁠Listen Ad-Free⁠ SHOW IMAGES 1 - 2 - 3a - 3b - 4 - 5 - 6 - 7 - 8 - 9 - 10 - 11a - 11b - 12a - 12b - 13 - 14 - 15a - 15b - 16 - 17a - 17b - 18 - 19 - 20 - 21 - 22 - 23 - 24 - 25 - 26 - 27 - 28 - 29 - 30 - 31 - 32 - 33 - 34 Theme Music: Military March Adventure by Antracto

  • May 6 · 1 hr 21 min

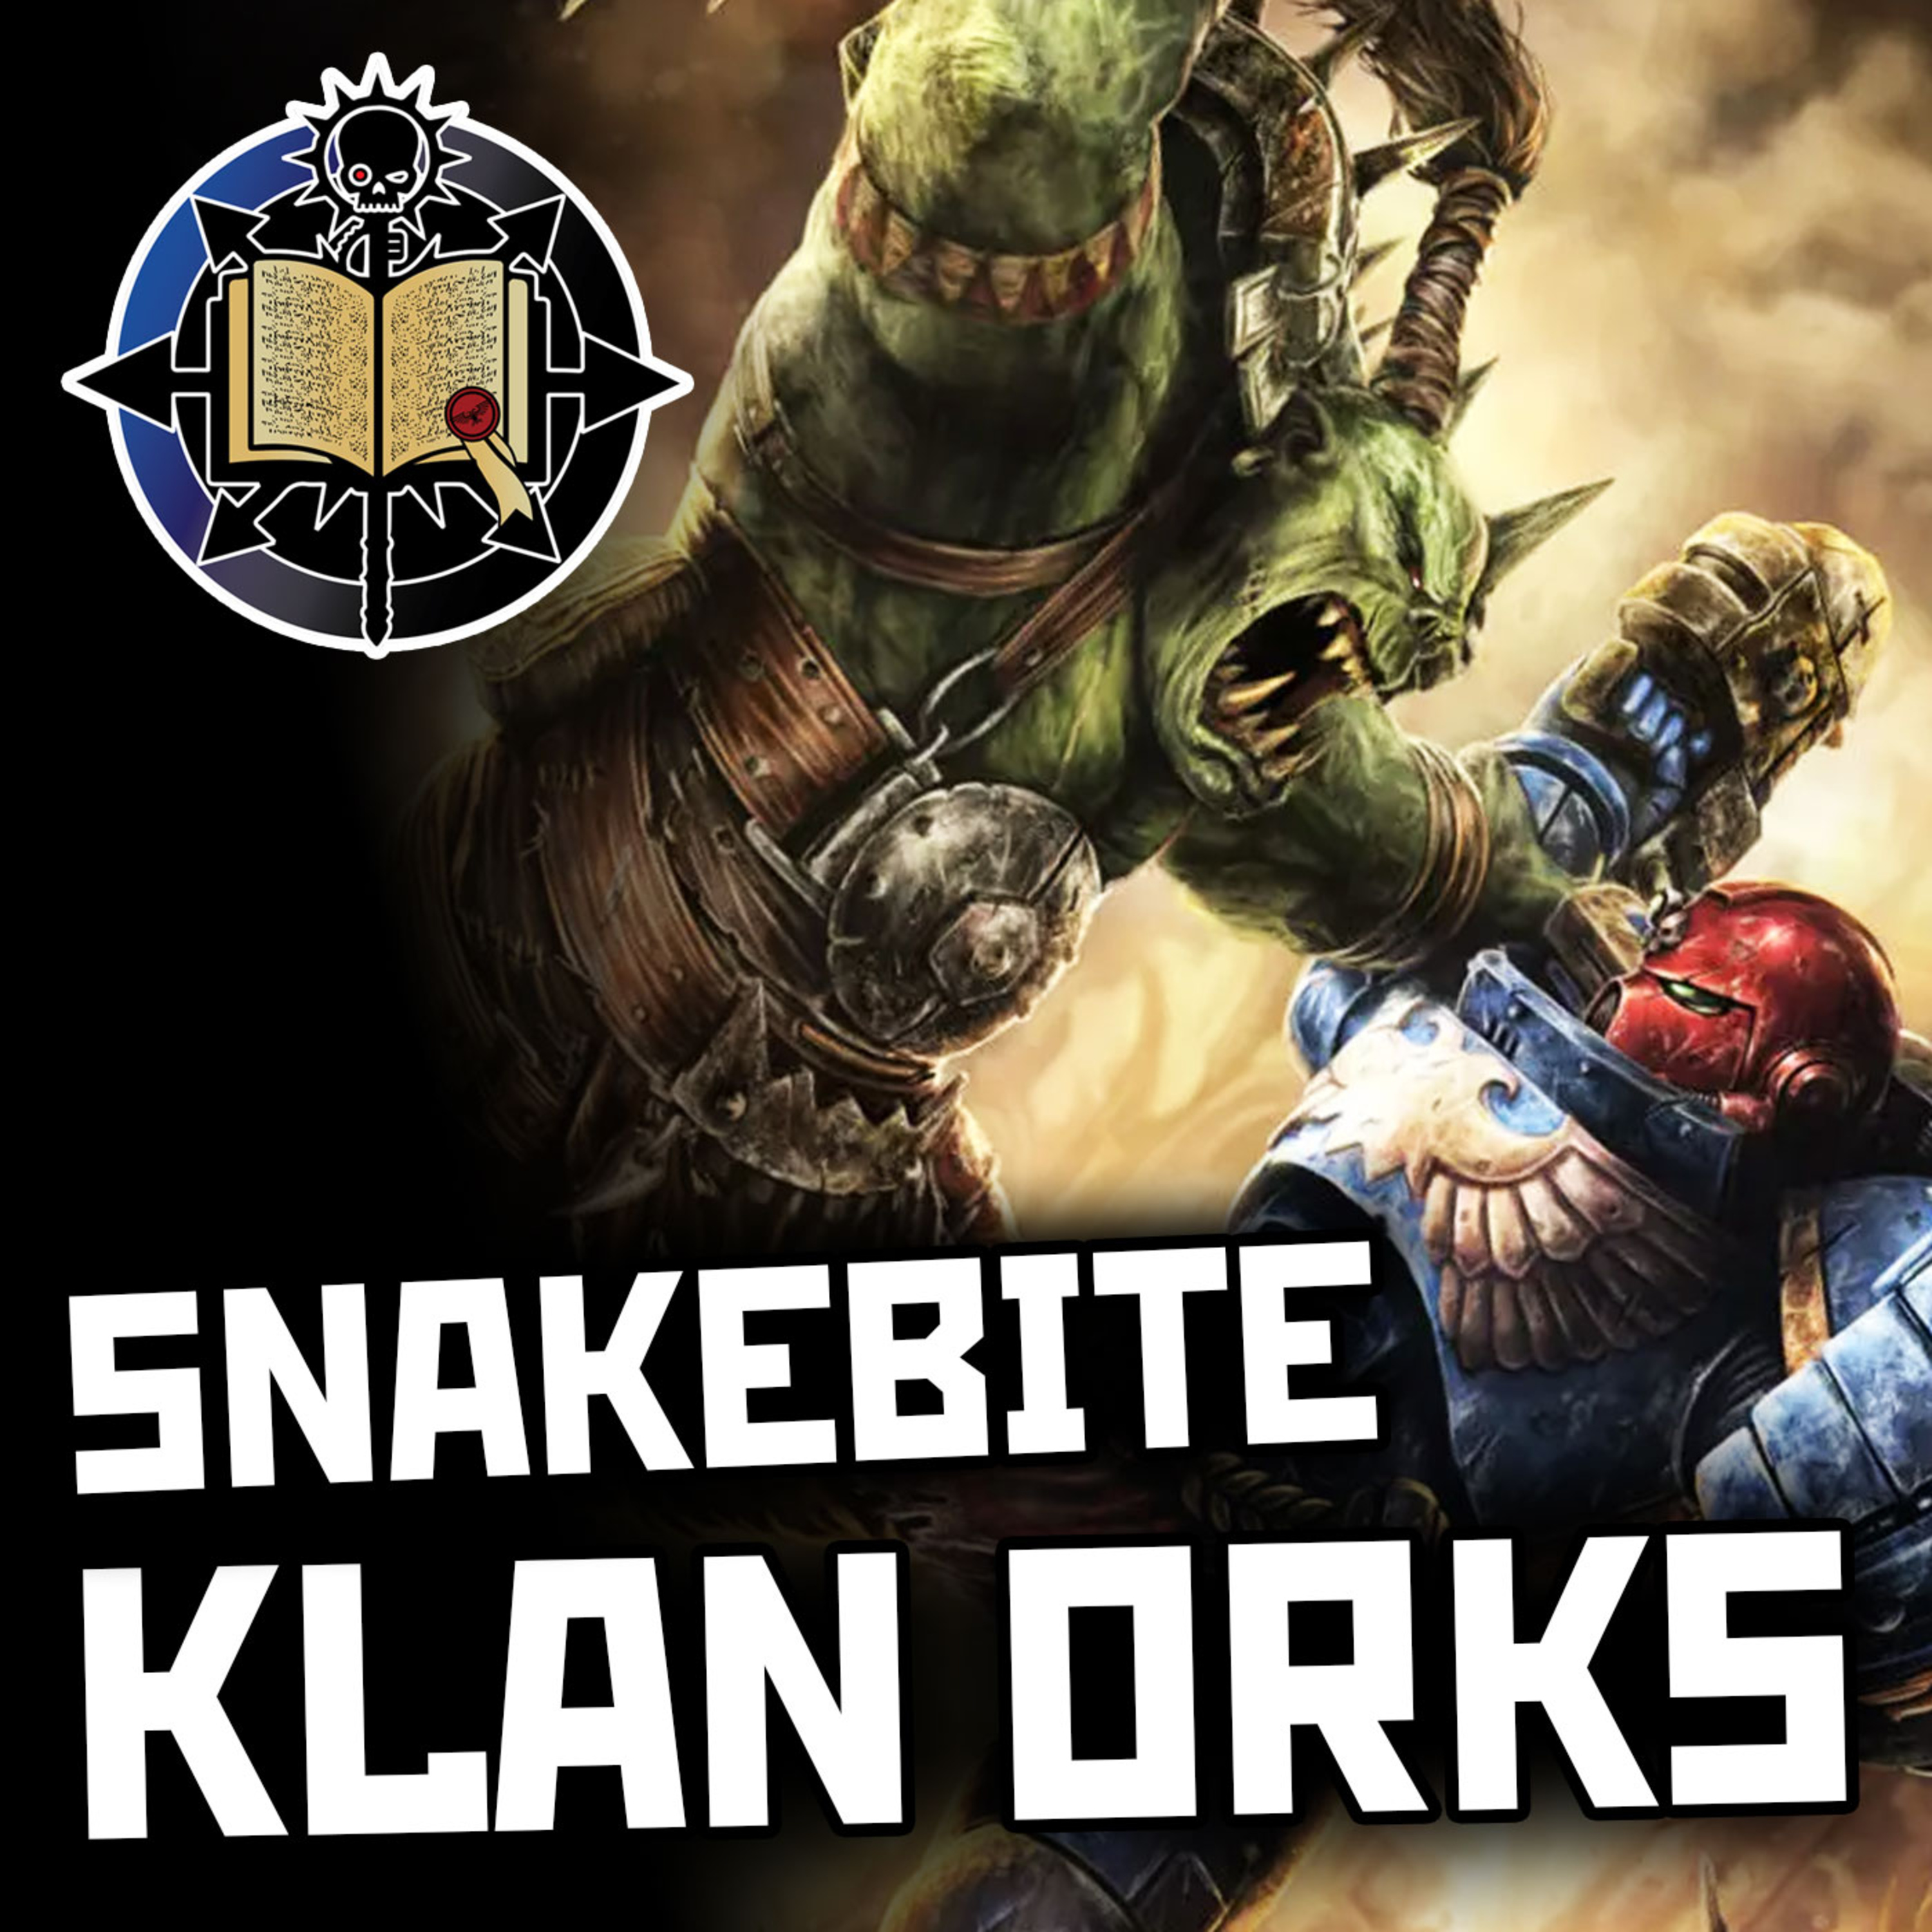
    Snakebite Klan Orks | Warhammer 40K Lore

    Click here to watch the 'Lineage' mini-series, out now. In our Warhammer 40K lore dive episode 62, we look into the Snakebites, the most traditional and primitive of the Ork Klans, who reject advanced technology in favour of beasts, choppas, and the brutal “old ways” of Ork culture. We explore their tribal lifestyle, harsh initiation rituals involving venomous snake bites, and their reputation as the greatest breeders of Grots, Squigs, and massive Squiggoths used in war. The episode also examines the crucial role of Runtherdz, the rare Orks patient enough to train Gretchin, Snotlings, and even alien slaves, before telling the strange story of Zodgrod Wortsnagga, the exiled Runtherd who created disciplined “Supa-Runtz” and became a wandering mercenary before firmly establishing himself as part of the Beast Snaggas, nomadic Ork hunters obsessed with tracking and killing the biggest monsters and war machines in the galaxy. Note: Please see episodes 26 & 27 for an introduction to the Orks ⁠⁠⁠⁠⁠⁠⁠⁠⁠⁠⁠⁠⁠Patreon⁠⁠⁠⁠⁠⁠⁠⁠⁠⁠⁠⁠⁠ ⁠⁠⁠⁠⁠⁠⁠⁠⁠⁠⁠⁠⁠Merchandise⁠⁠⁠⁠⁠⁠⁠⁠⁠⁠⁠⁠⁠ ⁠⁠⁠⁠⁠⁠⁠⁠⁠⁠⁠⁠Quartermaster ⁠⁠⁠ ⁠⁠⁠⁠Listen Ad-Free⁠ SHOW IMAGES 1 - 2 - 3 - 4 - 4a - 5 - 6 - 7 - 8 - 9 - 9a - 10 - 11 - 12 - 13 - 14 - 15 - 16 - 17 - 18 - 19 - 20 Theme Music: Military March Adventure by Antracto

  • April 15 · 1 hr 29 min

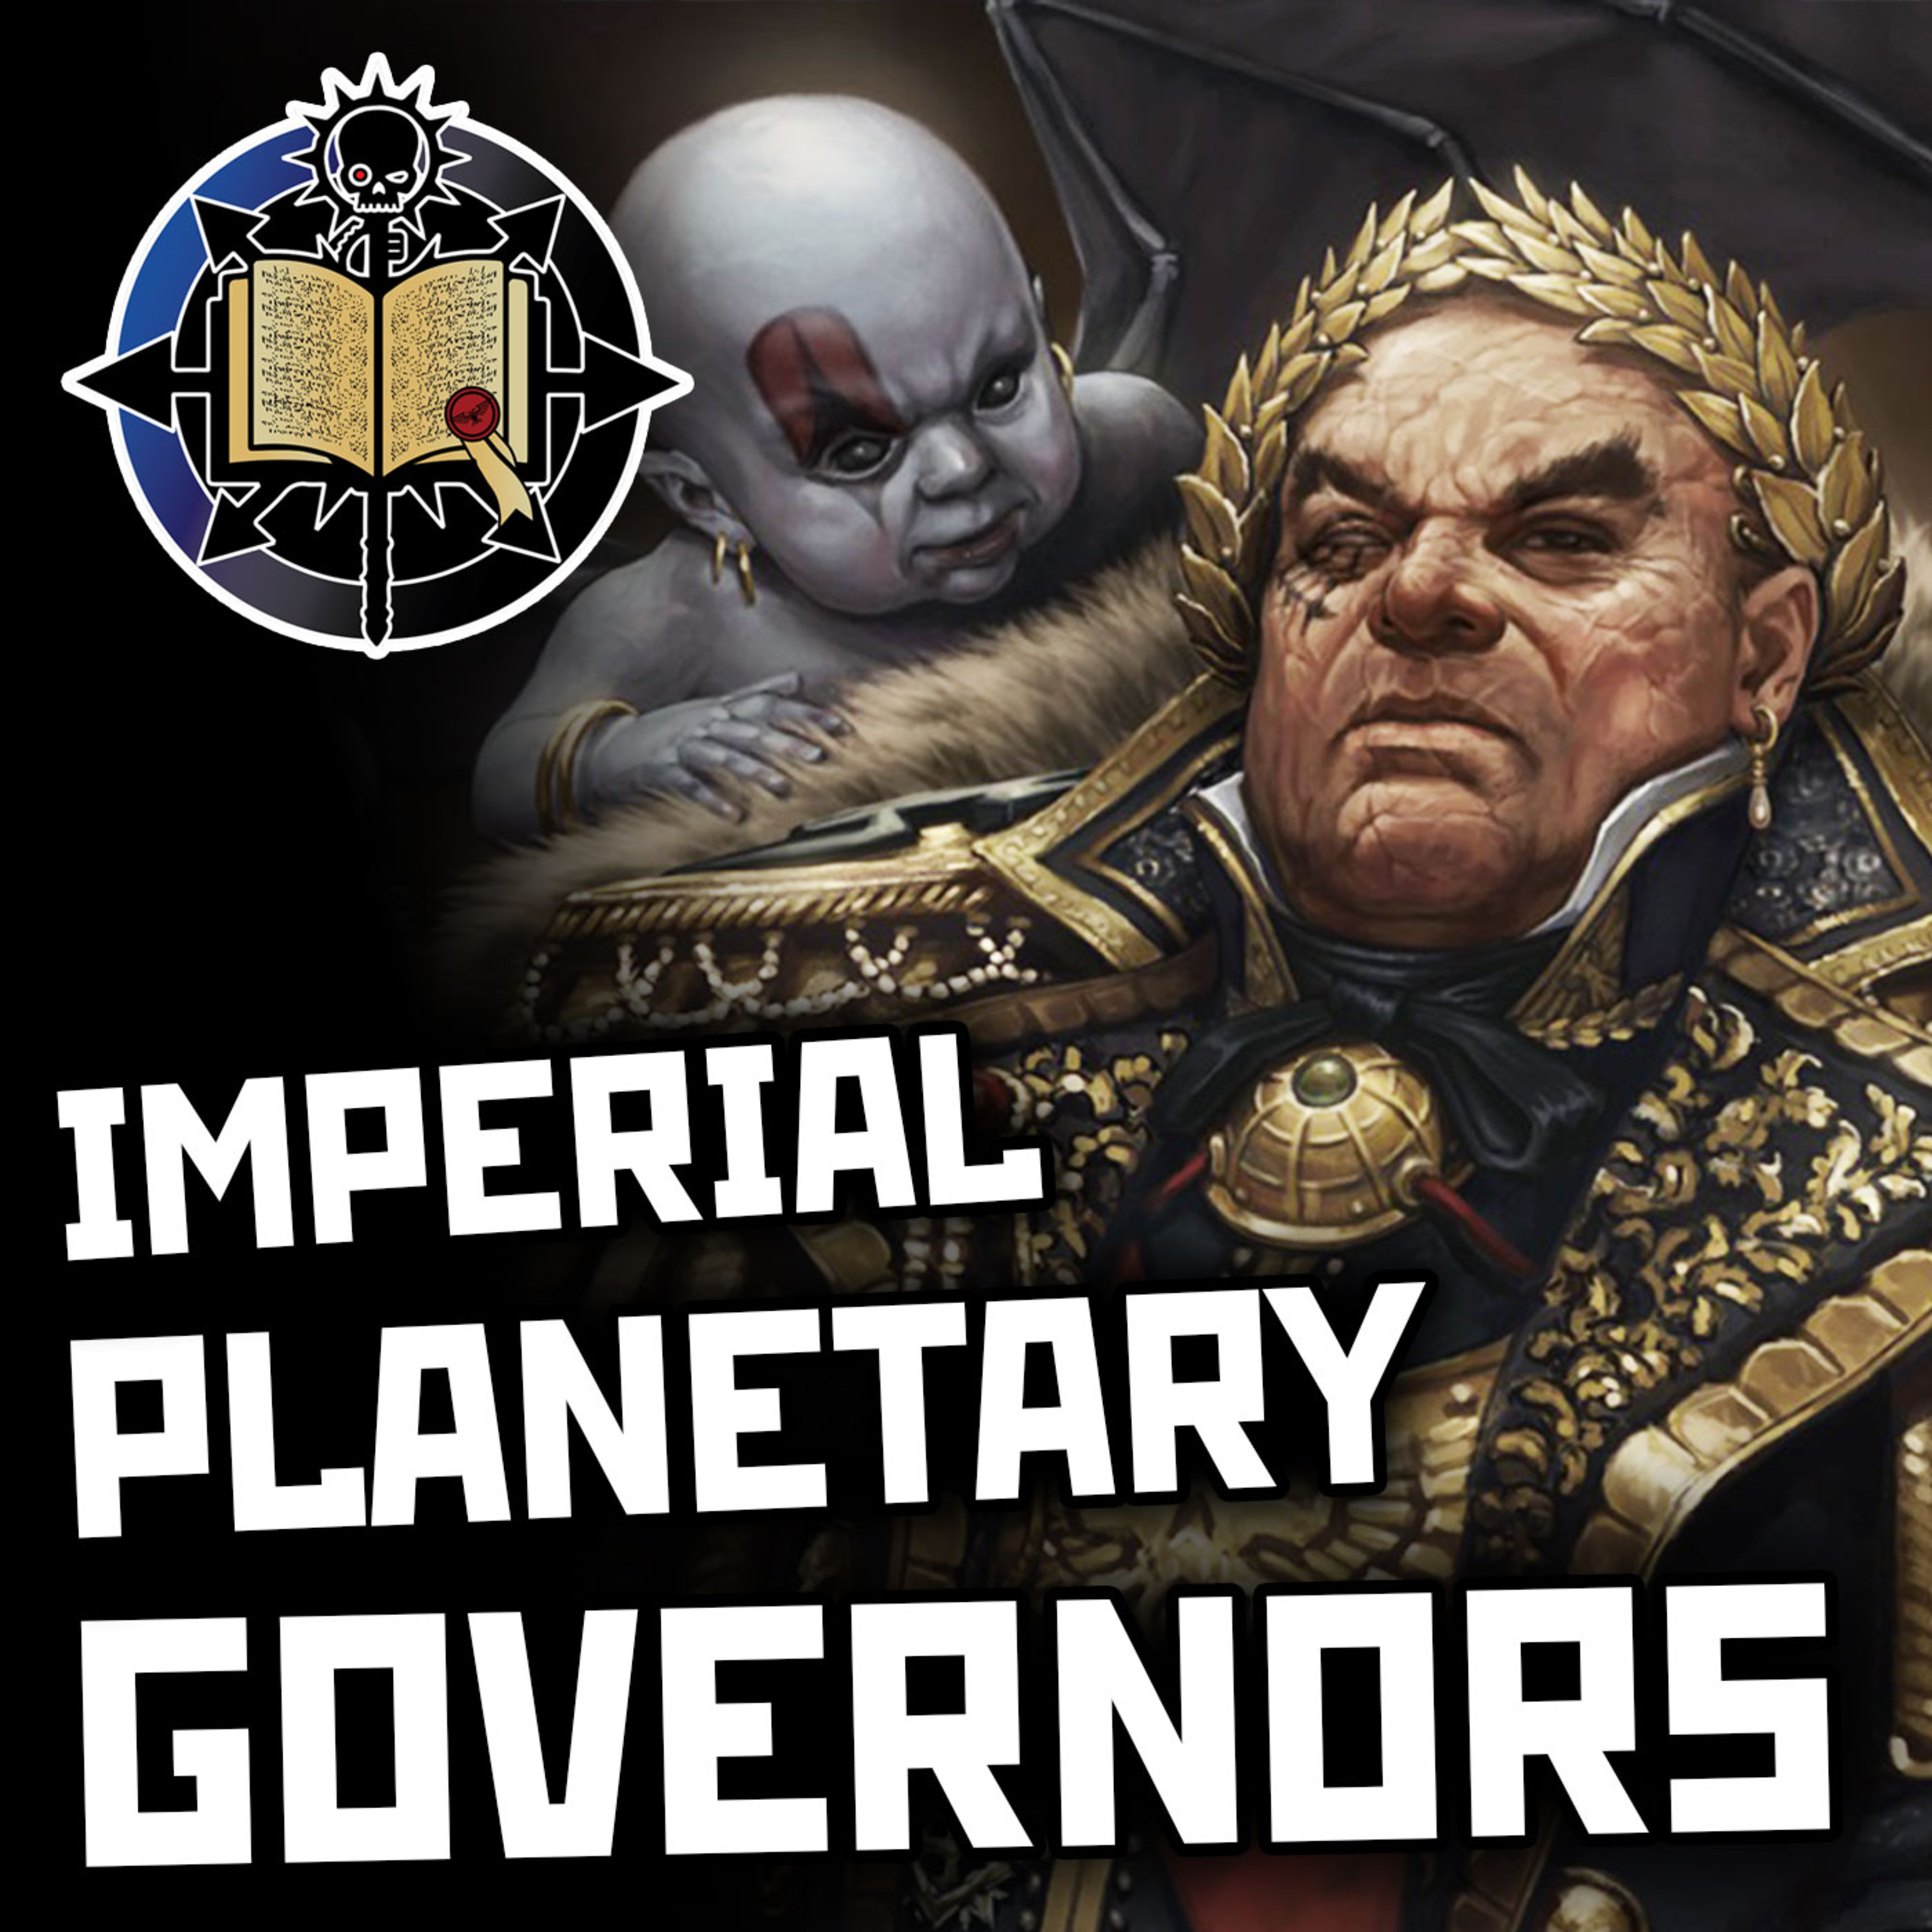
    Imperial Planetary Governors | Warhammer 40K Lore

    In our Warhammer 40K lore dive episode 61, we explore the role of the Imperial Planetary Governor, the Imperium’s ultimate local authority and the individual responsible for ruling entire worlds in the Emperor’s name. Part monarch, part warlord, and part bureaucrat, governors wield near-absolute power so long as they fulfill their most critical duty: paying the Imperial Tithe in soldiers, resources, and production. We examine how these rulers manage planetary economies, command Planetary Defence Forces, suppress heresy and mutation, and maintain devotion to the Emperor while balancing the chaotic politics of their own societies. Through case studies like Lord Gerontius Helmawr of Necromunda—an archetypal political manipulator who maintains stability through feudal power games—and the disastrous rule of Herman von Strab during the Second War for Armageddon, the episode reveals both the immense authority and the dangerous fragility of Imperial governance, where a single leader’s competence can determine whether a world thrives, collapses, or burns. Note: Please see episode 9 for an introduction to Imperium Bureaucracy ⁠⁠⁠⁠⁠⁠⁠⁠⁠Patreon⁠⁠⁠⁠⁠⁠⁠⁠⁠⁠⁠⁠⁠ ⁠⁠⁠⁠⁠⁠⁠⁠⁠⁠⁠⁠⁠Merchandise⁠⁠⁠⁠⁠⁠⁠⁠⁠⁠⁠⁠⁠ ⁠⁠⁠⁠⁠⁠⁠⁠⁠⁠⁠⁠Quartermaster ⁠⁠⁠ ⁠⁠⁠⁠Listen Ad-Free⁠ SHOW IMAGES 1 - 2 - 3 - 4 - 5 - 6 - 7 - 7a - 8 - 9 - 10 - 11 - 11a - 12 - 13 - 14 - 15 - 16 - 17 Theme Music: Military March Adventure by Antracto

  • April 1 · 2 hr 1 min

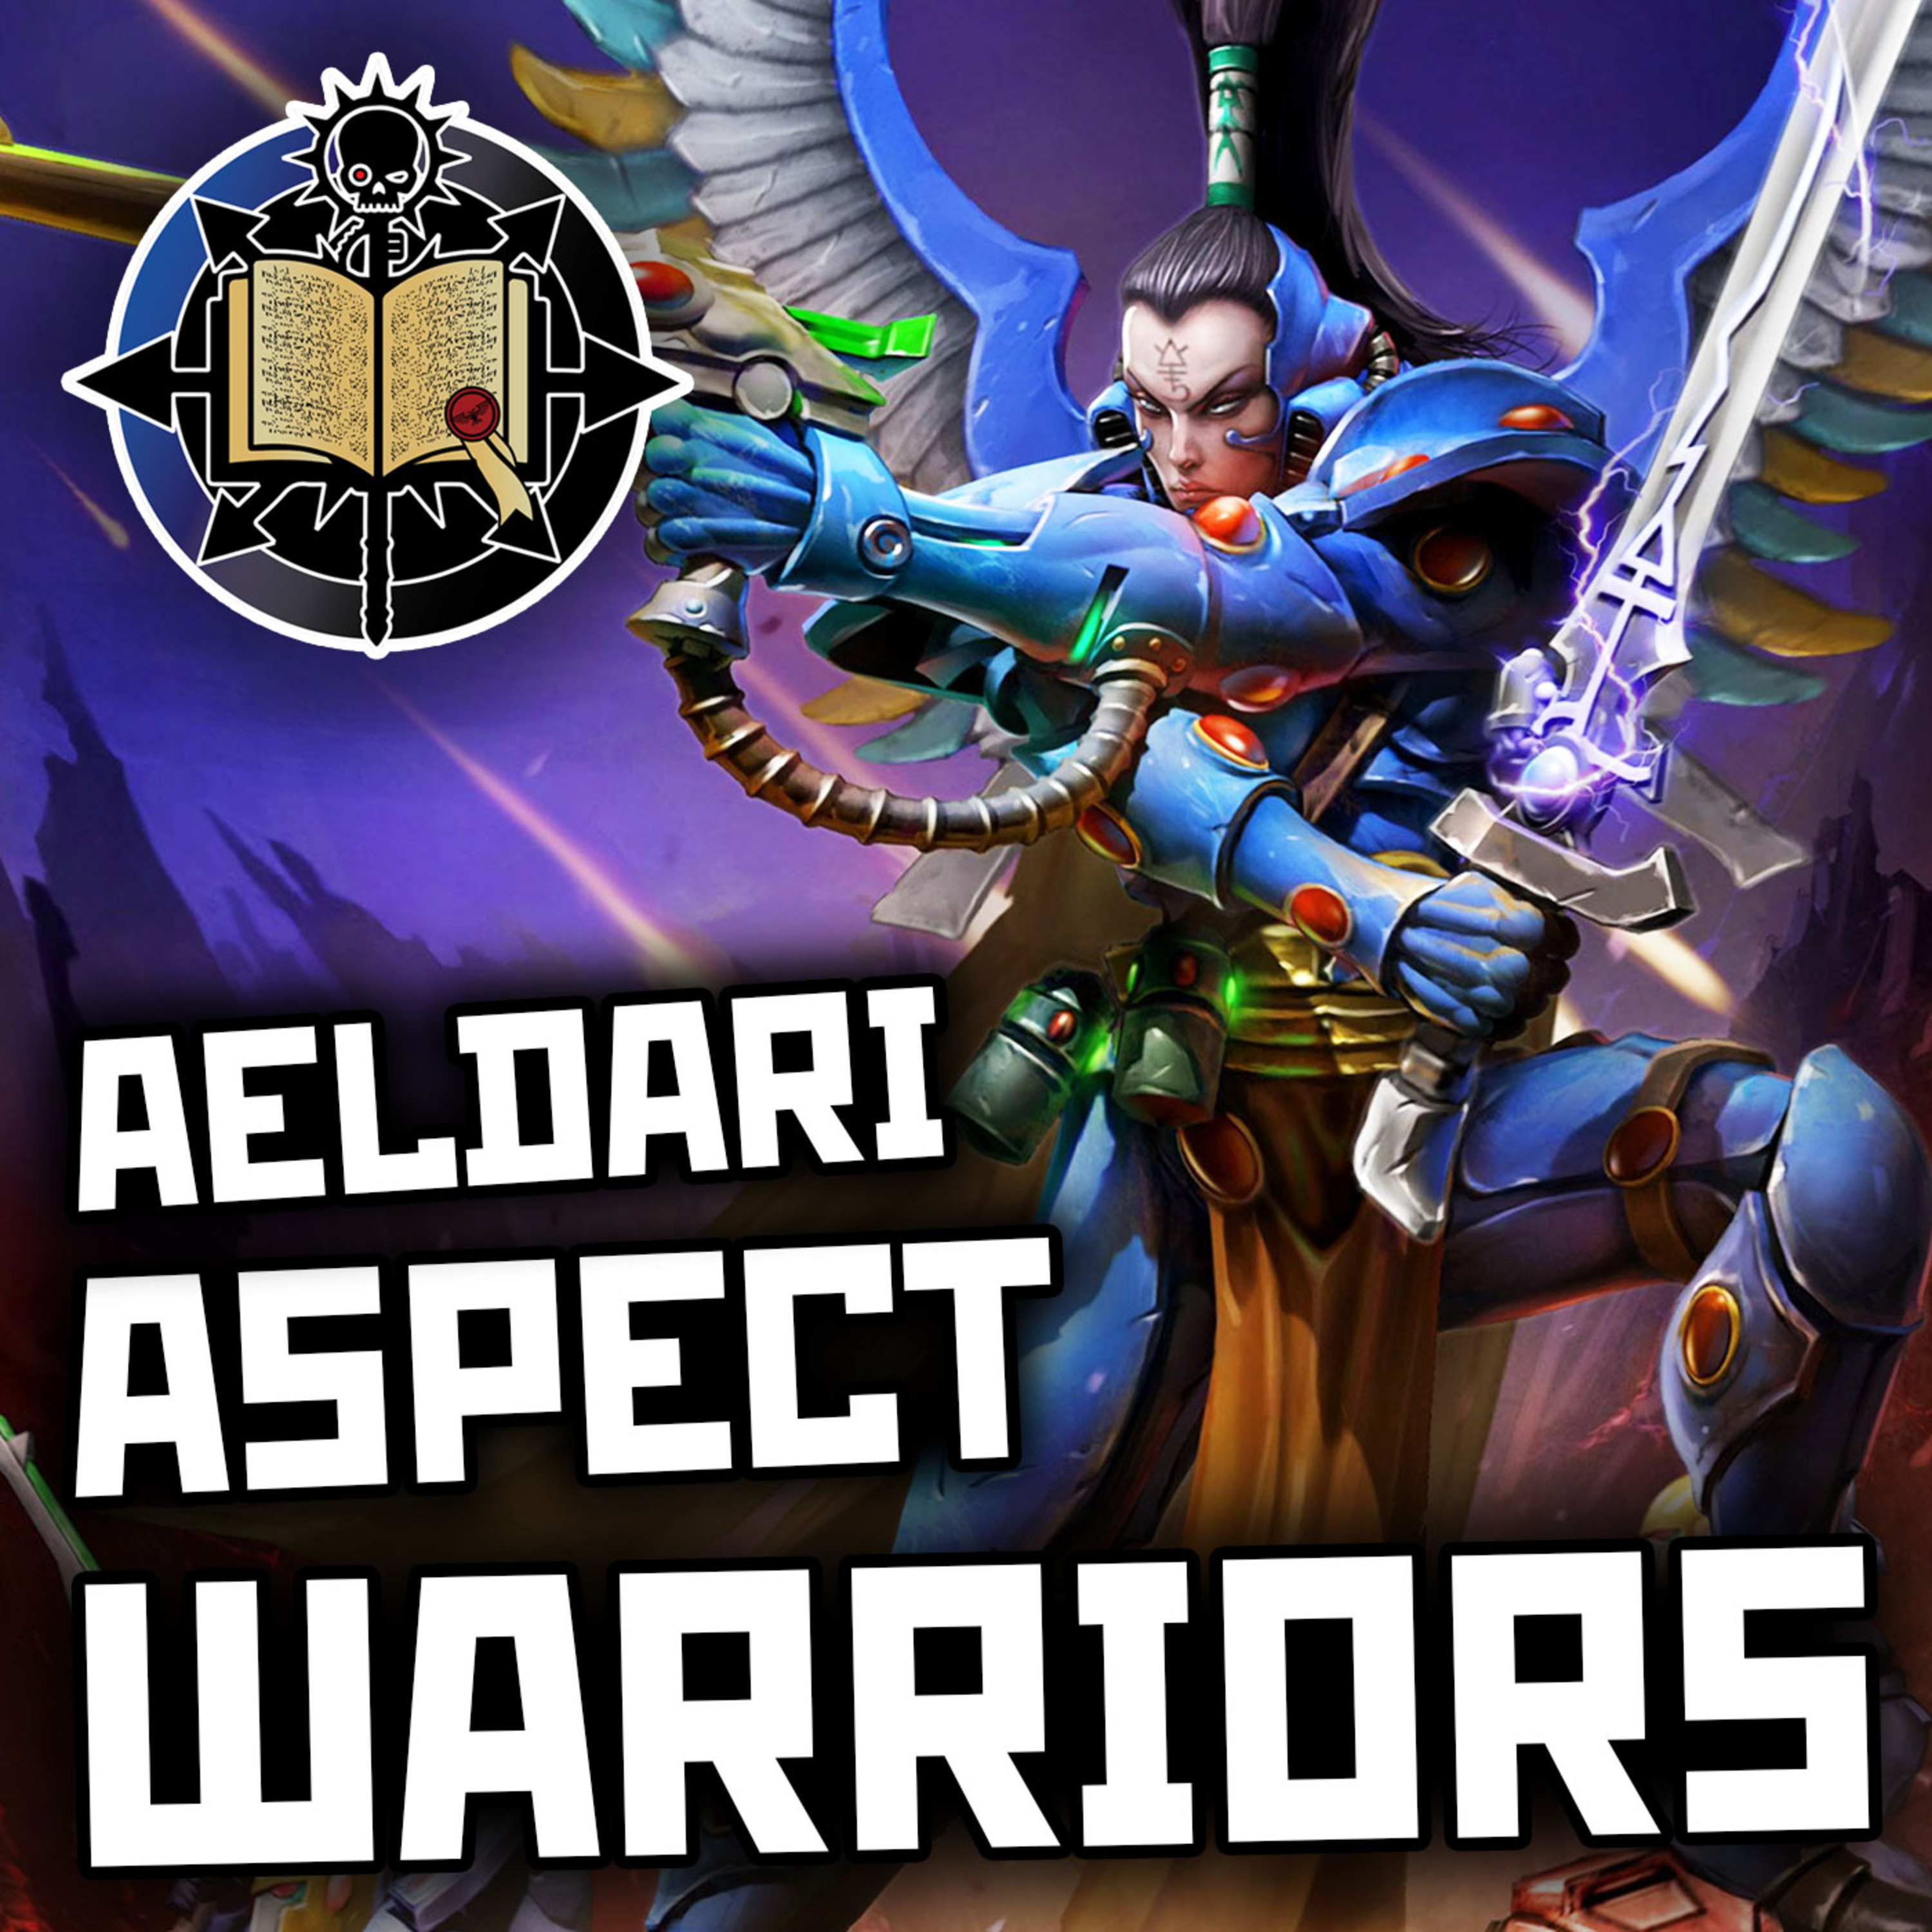
    Aeldari Aspect Warriors | Warhammer 40K Lore

    Note: Please see episode 19 for an introduction to the Craftworld Eldar In our Warhammer 40K lore dive episode 60, we delve into the ritualised art of war practiced by the Craftworld Aeldari through their legendary Aspect Warriors—elite specialists who embody shattered fragments of their war god, Khaela Mensha Khaine. We explore the Path of the Warrior, where citizens don the “war mask” to become masters of a single, hyper-focused discipline, and examine how Aspect Shrines train these fighters into living weapons guided by ancient tradition. From Exarchs—souls eternally bound to war within spirit-infused armour—to the immortal Phoenix Lords who are reborn again and again through sacred war gear, we unpack a martial culture built on precision, sacrifice, and survival. The episode also breaks down the major Aspects—from the balanced Dire Avengers and tank-hunting Fire Dragons to the stealthy Striking Scorpions, skyborne Swooping Hawks, warp-jumping Warp Spiders, and even the fighter-pilot Crimson Hunters—revealing how each plays a perfectly timed role in the Aeldari’s symphony of annihilation, where flawless execution means the difference between extinction and survival. ⁠⁠⁠⁠⁠⁠⁠⁠⁠⁠⁠⁠⁠Patreon⁠⁠⁠⁠⁠⁠⁠⁠⁠⁠⁠⁠⁠ ⁠⁠⁠⁠⁠⁠⁠⁠⁠⁠⁠⁠⁠Merchandise⁠⁠⁠⁠⁠⁠⁠⁠⁠⁠⁠⁠⁠ ⁠⁠⁠⁠⁠⁠⁠⁠⁠⁠⁠⁠Quartermaster ⁠⁠⁠ ⁠⁠⁠⁠Listen Ad-Free⁠ SHOW IMAGES 1 - 2 - 3 - 4 - 5 - 6 - 7 - 8 - 9 - 10 - 11 - 12 - 13 - 14 - 15 - 16 - 17 - 18 - 19 - 20 - 20a - 21 - 22 - 23 - 24 - 25 - 26 Theme Music: Military March Adventure by Antracto

  • March 18 · 1 hr 26 min

    59: Doom of Mymeara Pt6 | Warhammer 40K Lore

    In this week’s Warhammer 40K lore dive, we look at the aftermath of victory on Betalis III. Inquisitor-Lord Danzk uncovers the terrible truth behind the entire war when Imperial forces seal themselves inside a mining forge to hunt down Aeldari survivors—only to discover the conflict was never about conquest at all, but a desperate mission by Craftworld Mymeara to recover the ancient remains of a fallen Phoenix Lord buried beneath the planet’s surface. As Danzk’s servitors spy on a ritual deep in the tunnels, psychic forces awaken the legendary warrior, unleashing spectral Aspect warriors who tear through Imperial defenders with terrifying precision. Amid desperate last stands, daring escape attempts, and brutal close-quarters slaughter, the newly reborn Phoenix Lord leads a final assault that collapses the forge itself, killing Tech-Priest Mydeaus and dooming the Imperials’ last stronghold. In the episode’s haunting conclusion, the Mymearan Farseer reveals through a psychic interrogation that the planetary war was merely a diversion to reclaim their ancient hero, before the Eldar escape victorious—leaving Danzk condemned by his own Imperium even in death, his final fate a grim reminder that in this war, no side truly wins. ⁠⁠⁠⁠⁠⁠⁠⁠⁠⁠⁠⁠⁠Patreon⁠⁠⁠⁠⁠⁠⁠⁠⁠⁠⁠⁠⁠ ⁠⁠⁠⁠⁠⁠⁠⁠⁠⁠⁠⁠⁠Merchandise⁠⁠⁠⁠⁠⁠⁠⁠⁠⁠⁠⁠⁠ ⁠⁠⁠⁠⁠⁠⁠⁠⁠⁠⁠⁠Quartermaster ⁠⁠⁠ ⁠⁠⁠⁠Listen Ad-Free⁠ SHOW IMAGES Aeldari Art: Farseer - Warlock - Spiritseer - Shadow Spectre 1 - Shadow Spectre 2 Imperium Art: Tauros Venator Aeldari Miniatures: Shadow Spectres - Exarch - Irillyth Theme Music: Military March Adventure by Antracto

  • March 4 · 1 hr 26 min

    58: Doom of Mymeara Pt5 | Warhammer 40K Lore

    In this week’s Warhammer 40K lore dive, as Betalis III teeters on the edge of annihilation, the war finally begins to turn. With Imperial survivors clinging to life in the lethal glare of their system’s star, the Eldar Corsairs’ dominance suddenly fractures as massive Imperial reinforcements arrive, spearheaded by the Space Wolves of Bran Redmaw, whose brutal void assault shatters the pirate fleets and drives straight for the planet. On the ground, drop pods crash into the Tormus Delta, where Space Wolves and Company Retribution fight side by side in a savage canyon war of ambushes, Wraithguard horrors, and heroic last stands, while to the east an unexpected Eldar strike nearly massacres civilians at Aresta IV before hidden Elysians and Imperial air power force a desperate withdrawal. Above it all, the conflict crescendos in a continent-spanning duel of god-machines as Legio Gryphonicus hunts down and destroys the last Eldar Titans in a running battle through ice storms and mountain highways. Bloodied but unbroken, Imperial armour and air power finally overwhelm the exhausted Eldar hosts, forcing a system-wide retreat through the webway and bringing the Battle for Betalis III to a hard-won, devastating victory for the Imperium. ⁠⁠⁠⁠⁠⁠⁠⁠⁠⁠⁠⁠⁠Patreon⁠⁠⁠⁠⁠⁠⁠⁠⁠⁠⁠⁠⁠ ⁠⁠⁠⁠⁠⁠⁠⁠⁠⁠⁠⁠⁠Merchandise⁠⁠⁠⁠⁠⁠⁠⁠⁠⁠⁠⁠⁠ ⁠⁠⁠⁠⁠⁠⁠⁠⁠⁠⁠⁠Quartermaster ⁠⁠⁠ ⁠⁠⁠⁠Listen Ad-Free⁠ SHOW IMAGES Maps: Ice Canyons - Ice Canyons 2 Imperial Forces: Space Wolf Dreadnought - Imperial Defenders - Elysian Drop Trooper - Elysian Vehicles 1 - Elysian Vehicles 2 - Valkyrie Skytalon Aeldari Forces: Dire Avengers - Wraithguard - Wraithseer - Howling Banshees - Fire Dragons Theme Music: Military March Adventure by Antracto

  • February 18 · 1 hr 20 min

    57: Doom of Mymeara Pt4 | Warhammer 40K Lore

    On Betalis III, the war reaches a breaking point as Battle Group Odon makes its stand on the frozen Alacian Plains against the overwhelming forces of the Aeldari. What begins with a fleeting morale boost—the rare downing of an Aeldari fighter—rapidly descends into disaster as disciplined Craftworld Mymeara air assaults tear Imperial armour apart and force General Odon into a desperate, controversial gamble: splitting his forces to face two advancing Craftworlds at once. As Company Vengeance is mauled by precision strikes, ambushes, and internal chaos, the god-machines clash with Aeldari Phantom Titans, culminating in the annihilation of a Warhound in a terrifying display of xenos power. To the south, Company Retribution barely reaches the shelter of the Tormus Delta, only to be drawn into a brutal canyon war of ambushes, Warp Spider massacres, and relentless attrition. Just as Imperial resistance teeters on collapse, a new Aeldari force breaks away toward the Tarundor Isthmus for reasons no one can explain, leaving the episode on a grim cliffhanger as Odon realises the darkest hours of the campaign are still ahead. ⁠⁠⁠⁠⁠⁠⁠⁠⁠⁠⁠⁠⁠Patreon⁠⁠⁠⁠⁠⁠⁠⁠⁠⁠⁠⁠⁠ ⁠⁠⁠⁠⁠⁠⁠⁠⁠⁠⁠⁠⁠Merchandise⁠⁠⁠⁠⁠⁠⁠⁠⁠⁠⁠⁠⁠ ⁠⁠⁠⁠⁠⁠⁠⁠⁠⁠⁠⁠Quartermaster ⁠⁠⁠ ⁠⁠⁠⁠Listen Ad-Free⁠ SHOW IMAGES Map: Battle of the Alacian Plains Imperial Forces: Leman Russ - Macharius Aeldari Forces: Wasp - Hornet - Warp Hunter - Lynx - Cobra - Scorpion - Warp Spider Titans: Aeldari Battle Group - Imperial Battle Group - Warhound - Reaver/Phantom comparison Theme Music: Military March Adventure by Antracto

  • February 4 · 1 hr 24 min

    56: Doom of Mymeara Pt3 | Warhammer 40K Lore

    In this episode we look at the escalation of the Betalis III conflict as the Aeldari Corsair invasion moves from shadow war to full-scale catastrophe. In the void of the Betalis System the naval battle sees the Imperial defence platform Watchful Saviour and the outnumbered Imperial fleet overwhelmed by superior Aeldari manoeuvre warfare, culminating in the platform’s destruction and Aeldari orbital dominance. We then explore the first major ground engagement at Alnitac Prime, a massive refinery embedded in a glacier whose control is vital to the Tarundor Isthmus. There, Battle Group Empteda withstands repeated Aeldari air and ranger assaults before deliberately sacrificing itself by detonating the facility, triggering a cataclysmic explosion that annihilates the glacier, devastates Aeldari forces above, and denies them the strategic high ground. Though entirely destroyed, Empteda’s stand buys crucial time for Imperial forces to regroup, marking the battle as a grim but purposeful act of sacrifice in the wider war for Betalis III. ⁠⁠⁠⁠⁠⁠⁠⁠⁠⁠⁠⁠⁠Patreon⁠⁠⁠⁠⁠⁠⁠⁠⁠⁠⁠⁠⁠ ⁠⁠⁠⁠⁠⁠⁠⁠⁠⁠⁠⁠⁠Merchandise⁠⁠⁠⁠⁠⁠⁠⁠⁠⁠⁠⁠⁠ ⁠⁠⁠⁠⁠⁠⁠⁠⁠⁠⁠⁠Quartermaster ⁠⁠⁠ ⁠⁠⁠⁠Listen Ad-Free⁠ SHOW IMAGES The Betalis System - Betalis III Imperial Orbital assets: Defense Platforms, Docking Station, System Ships, Fury Starfighter Aeldari Voidcraft: Darkstar Fighters - Aconite Frigate - Hellebore Frigate Map of Battle of Alnitac Prime Aeldari Vyper Jetbike Hydra Anti-Aircraft tank - Praetor Armoured Launcher Cyclops Demolition Vehicle - Cyclops Miniature Theme Music: Military March Adventure by Antracto

  • January 21 · 1 hr 26 min

    55: Doom of Mymeara Pt2 | Warhammer 40K Lore

    We start with the covert Eldar attacks that silently cripple the planet’s surveillance network through destroyed relay stations and night raids, leaving Imperial forces blind and shaken. We cover the return of General Myndoras Odon of the Cadian 6th Armoured Regiment, who recognises the raids as a deliberate prelude to a larger campaign ultimately aimed at Betalis IV, and responds by consolidating forces, deliberately provoking the enemy, and requisitioning all available manpower and equipment despite political opposition. As shortages worsen, penal troops, cartel guards, and depleted armoured units are pressed into service, while the refusal of reinforcements from Betalis IV is abruptly resolved by the arrival of Inquisitor-Lord Hestaphus Danzk, who arrests obstructive officers and brings powerful new assets, including Titans and Elysian Drop Troops. With Eldar raids escalating into open daylight attacks, Imperial forces reorganise into battle groups and prepare for the transition from shadow war to full-scale conflict. ⁠⁠⁠⁠⁠⁠⁠⁠⁠⁠⁠⁠⁠Patreon⁠⁠⁠⁠⁠⁠⁠⁠⁠⁠⁠⁠⁠ ⁠⁠⁠⁠⁠⁠⁠⁠⁠⁠⁠⁠⁠Merchandise⁠⁠⁠⁠⁠⁠⁠⁠⁠⁠⁠⁠⁠ ⁠⁠⁠⁠⁠⁠⁠⁠⁠⁠⁠⁠Quartermaster ⁠⁠⁠ ⁠⁠⁠⁠Listen Ad-Free⁠ SHOW IMAGES Map Arvus Lighter Malcador Infernus Crassus And Chimera Transports Astra Militarum Regimental Structure Leman Russ - Leman Russ Vanquisher - Macharius Heavy Tank - Ogryn Squad Marauder Destroyer - Thunderbolt - Imperial Pilot Hornet - Wasp - Vampire - Warp Hunter

  • January 7 · 55 min

    54: Doom of Mymeara Pt1 | Warhammer 40K Lore

    We start our dive into the Betalis Campaign with a look at the history and strategic significance of Betalis III, an icy mining world illuminated by a vast blue giant, detailing its origins as the doomed home of a young reptilian xenos species destroyed long ago by Irillyth and Craftworld Mymeara, the planet’s later rediscovery by the Imperium during the Omniel Crusade, and its harsh colonisation under exploitative debt-labour conditions. We recount the discovery of an ancient Aeldari craft entombed in the ice, the subsequent Ordo Xenos lockdown, and the world’s transformation into a major industrial resource hub whose population remains bound by hereditary servitude. We then shift to the events leading up to the 894.M41 Betalis III Campaign—known to the Eldar as the Battle of the Dawning Twilight—where multiple Aeldari factions converge on the system and the Imperium responds by mobilising Cadian and Elysian regiments, Titans of Legio Gryphonicus, and eventually the astartes of the Space Wolves ⁠⁠⁠⁠⁠⁠⁠⁠⁠⁠⁠⁠⁠Patreon⁠⁠⁠⁠⁠⁠⁠⁠⁠⁠⁠⁠⁠ ⁠⁠⁠⁠⁠⁠⁠⁠⁠⁠⁠⁠⁠Merchandise⁠⁠⁠⁠⁠⁠⁠⁠⁠⁠⁠⁠⁠ ⁠⁠⁠⁠⁠⁠⁠⁠⁠⁠⁠⁠Quartermaster ⁠⁠⁠ ⁠⁠⁠⁠Listen Ad-Free⁠ SHOW IMAGES The Doom of Mymeara The Betalis System Aeldari Corsairs Craftworld Guardians Corsair Felarch RT Corsair Art Imperium Forces War Griffons Warlord Titan War Griffons Banner Shadow Spectre Aspect Warriors

  • Dec 17, 2025 · 5 hr 10 min

    53: Herald of Oblivion Christmas Special

    In this special video episode Dhar surprises the lads with a mission direct from the Emperor himself. We play the Path to Victory book Herald of Oblivion, a choose your own adventure style… well, adventure. Combating both heretics and Dhar’s dyslexia the lads try their best to reunite with their squadmates while fighting through successive waves of Necrons, Orks and Tyranids. Join us for a festive tale of grimdarkness featuring a new member of our group … Leeroy Cralkins! ⁠⁠⁠⁠⁠⁠⁠⁠⁠⁠⁠⁠⁠Patreon⁠⁠⁠⁠⁠⁠⁠⁠⁠⁠⁠⁠⁠ ⁠⁠⁠⁠⁠⁠⁠⁠⁠⁠⁠⁠⁠Merchandise⁠⁠⁠⁠⁠⁠⁠⁠⁠⁠⁠⁠⁠ ⁠⁠⁠⁠⁠⁠⁠⁠⁠⁠⁠⁠Quartermaster ⁠⁠⁠ ⁠⁠⁠⁠Listen Ad-Free⁠

  • Dec 3, 2025 · 1 hr 15 min

    52: Meles Astorum Lore Pt2 | Warhammer 40K Lore

    Cover art by Modyer, big love x In our final episode on the Star Badgers, for the time being, we look at the changes wrought on the chapter during their reforging and the suspiciously high number of Star Badgers who survived the Rubicon Primaris. We explore the structure of the reborn chapter and their Clawpacks (companies) by focusing on two of the five full strength Clawpacks they currently have. The Ashmoon Clawpack is led by the Great Claw-Master (Chaptermaster) and his advisors, all of whom were with the chapter when they “landed” Luna’s Vigil on the planet. We then dive into the Ironfang Clawpack and call out the different types of squad and their leaders, finally revealing the Identities of Cral’s and Dhar’s proxies (as well as Scott’s, Hi Scott!). We will be rejoining the Star Badgers in due course… We have a lot of plans for our chapter… ⁠⁠⁠⁠⁠⁠⁠⁠⁠⁠⁠⁠⁠Patreon⁠⁠⁠⁠⁠⁠⁠⁠⁠⁠⁠⁠⁠ ⁠⁠⁠⁠⁠⁠⁠⁠⁠⁠⁠⁠⁠Merchandise⁠⁠⁠⁠⁠⁠⁠⁠⁠⁠⁠⁠⁠ ⁠⁠⁠⁠⁠⁠⁠⁠⁠⁠⁠⁠Quartermaster ⁠⁠⁠ ⁠⁠⁠⁠Listen Ad-Free⁠ SHOW IMAGES The Fortress Monastery of the Star Badgers Star Badgers reforged Guilliman returns

  • Nov 19, 2025 · 1 hr 36 min

    51: Meles Astorum Lore Pt1 | Warhammer 40K Lore

    Cover art by Modyer, inspired by the original Rogue Trader artwork. In this episode we pick up the story of the Meles Astorum after their supposed destruction at Uras’drekh. Far from gone, the Star Badgers dragged the wreck of Luna’s Vigil to the surface of their death world, Samarkand, and went underground – literally. For centuries they became a whisper, sustained only by scraps of relic-tech and a trickle of recruits from the planet’s cavern tribes and the return of their Deathwatch Heroes. We explore Samarkand and its inhabitants and what life looked like for the shadow-chapter: no more than two hundred warriors at a time, most little more than scouts, fighting xenos incursions and tribal wars with the tenacity of predators in the dark. This is the Badgers at their most mythic – isolationist, secretive, and driven by survival, their culture hardening into ritual silence and devotion. ⁠⁠⁠⁠⁠⁠⁠⁠⁠⁠⁠⁠⁠Patreon⁠⁠⁠⁠⁠⁠⁠⁠⁠⁠⁠⁠⁠ ⁠⁠⁠⁠⁠⁠⁠⁠⁠⁠⁠⁠⁠Merchandise⁠⁠⁠⁠⁠⁠⁠⁠⁠⁠⁠⁠⁠ ⁠⁠⁠⁠⁠⁠⁠⁠⁠⁠⁠⁠Quartermaster ⁠⁠⁠ ⁠⁠⁠⁠Listen Ad-Free⁠ SHOW IMAGES Surface of Samarkand Star Badger Scout

  • Nov 5, 2025 · 1 hr 17 min

    50: Intro to Meles Astorum | Warhammer 40K Lore

    This episode we dive into the Meles Astorum – better known as the Star Badgers – a fleet-based Chapter first whispered about during the early millennia of the Imperium. We track their rise from brutal boarding specialists in the Jarnhost Reaving, through their reputation for tunnel warfare at Gaulus Red, to the infamous Howling Iron Pact that nearly broke them with questions of purity and trust. Along the way, we highlight their odd blend of feral assault doctrine and proto-Space Wolf ritualism, plus some of the darker moments like the Fangblood trials. All of it builds to their doomed final stand during the Fall of Uras’drekh in M39, when they gambled everything to crush a Necron dynasty before it could awaken fully – and paid the ultimate price. It’s a tale of ferocity, stubborn survival, and a Chapter remembered more for how it fell than how it lived. ⁠⁠⁠⁠⁠⁠⁠⁠⁠⁠⁠⁠⁠Patreon⁠⁠⁠⁠⁠⁠⁠⁠⁠⁠⁠⁠⁠ ⁠⁠⁠⁠⁠⁠⁠⁠⁠⁠⁠⁠⁠Merchandise⁠⁠⁠⁠⁠⁠⁠⁠⁠⁠⁠⁠⁠ ⁠⁠⁠⁠⁠⁠⁠⁠⁠⁠⁠⁠Quartermaster ⁠⁠⁠ ⁠⁠⁠⁠Listen Ad-Free⁠ SHOW IMAGES Meles Astorum Tactical Marine Meles Astarum Tactical Sergeant Space Marine Battlebarge (Ultramarine Chapter) Exorcist Grand Cruiser (Luna’s Vigil)